Friday, February 15, 2013

Without Further Ado!!!

Four months ago, on a whim, I decided to write a blog to document the progress being made on our cottage, The Coral Cottage.  I've been amazed at the interest so many have shown in following along.  Thank you so much for reading!

Today I'd like to take you through the last room--it's actually the first room when you walk in the front door....so without further ado, here's the living room!

BEFORE
Looking straight ahead as you walk in the front door
AFTER

BEFORE

AFTER
I kept the end tables--just painted them with Sherwin Williams' Raindrop.
BEFORE
This window behind the sofa used to look out to a screened porch but the room was enclosed and now is a sun porch where there is a dining space and another seating space.
AFTER
Because this is a small space I found this lucite coffee table on eBay--it takes up no space visually and it is small so people can walk past easily on their way to the bedrooms and bath.
BEFORE

AFTER
Dressed up for the Jane Coslick Holiday Tour of Homes
BEFORE

AFTER
The chevron-striped dresser was a DIY project.  For a tutorial click here.  There you have it--The Coral Cottage BEFORE and AFTER.

 CAN'T RESIST--ONE MORE :)
A great space to sit down with a good book and a glass of iced tea!  Come on over!

Wednesday, February 13, 2013

Making the Living Room Liveable!

Are you ready?  It's time to put things in good order with the living room at The Coral Cottage.  You can view the BEFORE photos here.  The room was rewired and then drywall was hung over the concrete walls.


Next came paint...


Then came trim and flooring...

We decided to paint the fireplace and Horton Remodeling added a mantel.

We painted the inside of the fireplace black.  I will put candles or something inside because the chimney doesn't work.  Don't ya love seeing the toilet in the hall?  We were working in the bathroom too!
Once we had the room ready it was time to furnish it!  See you with those pictures next time!

Monday, February 11, 2013

Last But Not Least!

It is time to tell the story of the last room at the Coral Cottage--last but not least.  The living room is the first room you see when you walk into the house.

Henry caught my first glimpse of The Coral Cottage as I walked into the living room.
Take it all in with me as we see the room from all angles.

View straight ahead as you walk in the front door
Panning to the right to look across the room
Standing in the hall between the two bedrooms and looking back toward the room.
So there you have it--the Coral Cottage BEFORE!  What would you do?  What would you keep and what would you dispose of?  These were all questions that crossed my mind.  This week I will show you what we did.


Friday, February 8, 2013

Happy, Sunshiny Room!

It has been interesting to furnish and fluff the rooms at the Coral Cottage.  Many times the things I had planned for a room just didn't seem quite right and we rearranged until everything was to our liking.  There were a million details--little things like locating the right size lamp harp so the lamp shade would look right--and they all took time.

Here's where I left you hanging last post


The blue-striped side table was moved to the twin bedroom to use as a nightstand.  The coral lamp was added and the wicker lamp was moved to the other side of the sofa (still no shade) and some of the curtains were hung.


Jane Coslick and I kept tweaking--we swapped the tables on the ends of the sofa, got a lamp shade for the wicker lamp, and got the drapes hung.


A couple weeks later on my next trip to Tybee I brought some fun ottomans that had arrived from one of my online shopping adventures.


Three weeks later, here is the room ready for the Jane Coslick Holiday Tour of Homes.  We had gotten the draperies hemmed, purchased and installed the TV and DVD and a phone.  We also added some accessories.


This is such a wonderful spot in which to sit--it is possibly my favorite room.  I can just imagine myself enjoying a glass of iced tea and looking out on the back yard with the beautiful light shining in.  It makes me smile and feel all sun-shiny inside.  Relaxing.  Love it.

If you'd like to have a relaxing time at the Coral Cottage contact Jim Heflin at Tybeecottages.com  and he will be glad to set things up for you!

Wednesday, February 6, 2013

Not Too Bad For A Day's Work

Moving Day--fun, exciting, exhausting!  But it is fun to pull out all of the goodies that I've collected from Craig's List, eBay, flea markets, online stores, and Ikea and see them in the house.
Here are some possibilities for the sun porch--some made the cut and others were used elsewhere.
Once the Ikea sofa was set up, my sister-in-law Eleanor and I put on the slipcover.

At the end of the day, this is how things looked.  It would change--for example the blue-striped table was moved to the twin bedroom.
Not too bad for a day's work.  There have been many more days of work on this space and next time I will show you how we finished it up!

Monday, February 4, 2013

A Ton of Fun Turning One!

I love beautiful party decorations--it just feels so festive!  Last week our little grand-daughter Josey had her first birthday and her mama Meghan outdid herself making sure it was a special occasion--she has even more photos on her blog.  Let me show you!

The theme was "You Are My Sunshine"--quite appropriate because Josey is a little ray of sunshine with her joyful personality.  Meghan made the garland on the stairs by stringing cupcake papers together!
Guests were asked to sign a remembrance book Meghan made using Shutterfly.  It had pictures that highlighted each month of Josey's first year.  Don't you love the pom-pom?  We did a tutorial on how to make your own pom-poms--just click here.
Meghan used her cricut to make this banner.
This was an afternoon party so light snacks were served along with birthday cake.
There was a scrumptious and beautiful cake with buttercream icing and a lemon curd filling made by our local bakery.  Meghan added the little banner.
We used mason jars rimmed with yellow sanding sugar and yellow striped straws which had name tags added.
Josey seemed excited to get her smash cake.  It was her first taste of refined sugar and at first she approached it very daintily.
Let's just say she enjoyed it!
She remembered her manners and offered to share :)
All the families were presented with favor boxes containing treats and a CD with a mix of songs selected to celebrate the party theme!
You are such a blessing--we love you Josey!  Happy Birthday!

Friday, February 1, 2013

DIY: How to Make a Tissue Paper Pom-pom

Last weekend Henry and I had the fun of hosting our grand-daughter Josey's first birthday party.  When I say host, I mean we provided the home and helped put up some of the decorations. Our daughter Meghan made all the decorations and she and Tom, her husband, provided all the goodies for the guests (this year just family).  

Papa Doc is willing to do whatever it takes for his little Josey.
Meghan chose "You Are My Sunshine" for her theme and she made lots of yellow tissue pom-poms, banners, and garlands.

So many pretty things!
I thought it would be interesting to show you how to make a tissue paper pom-pom.  They are amazingly easy to make and inexpensive if you do it yourself.  Here goes:

Make a stack of 8 to 10 sheets of tissue paper--any color or colors you want.  If you are making a larger pom-pom you will probably need more sheets of paper.
Begin folding the all the sheets paper fan style.
When you are finished it will look like this.
Fold in half and take a piece of thin wire...
Wrap the wire snugly around the center of the paper and secure by twisting.

If you wish to hang the pompom then thread fishing line the desired length through the wire.
 Attach it to the wire by tying a few good knots to hold it to the pompom.
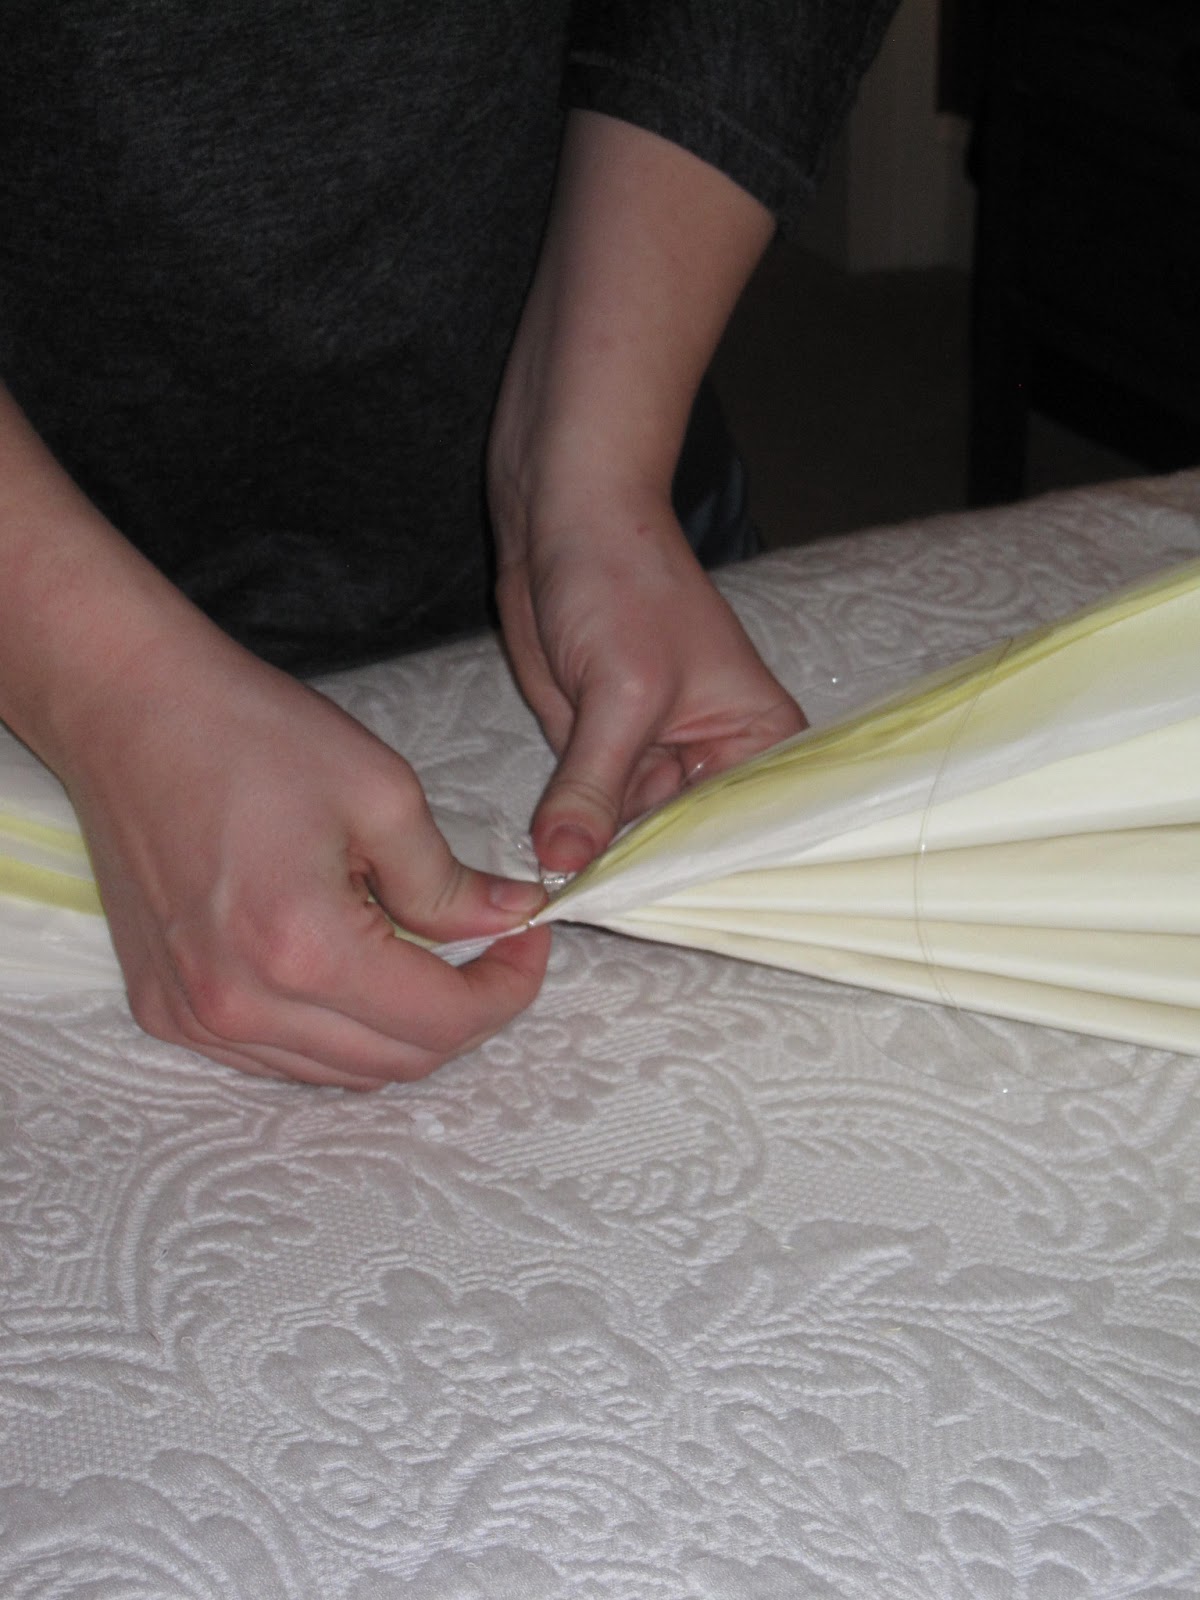
Squeeze the wire nice and flat so it holds the tissue folds securely.
Cut the ends of the papers into a pointed or a rounded shape.
Shape both ends of the paper fan.
Spread the fan folds open like this.
One at a time, begin separating each piece of tissue paper into "petals".
Keep working to fluff each piece of paper.
It's easier to make the pompom symmetrical if you work on both sides of the fan--go back and forth and work on both sides instead of finishing all of one side before turning to the other side.
When you have finished separating each individual piece of paper, then fluff them and arrange them until you are satisfied with the result.  Then you're ready to hang it up and start the party!
I will show you the party pictures with all these beautiful decorations Monday.  Then we will get back to the beach!  If you missed the most recent post on the Coral Cottage sun porch then click here to catch up.  Have a good weekend!